The Poetry and Pursuit of a Perfect Pie Crust
Flour.
Salt.
Butter…or shortening…or lard…or some
combination thereof.
Water.
It shouldn’t be too difficult, right? Yet, the alchemy involved in making a perfect pie crust pastry eludes many, including me, more times than not. If successful, your filling will be ensconced in a buttery, flaky but still crisp and delicious blanket of love that will enhance the flavor of the filling and be the subject of epic poems (or at least family stories). If unsuccessful, your crust could become a dry, impenetrable tomb or a slaggy heap, to be left on the plate like a dirty sock discarded on the side of the road. Instead of making it to a belly, your crust will suffer the ignominy of getting scraped off the plate and into the garbage can along with used coffee grinds and discarded chicken wing bones.
Forget about ingredient amounts and ratios—there are many other variables to consider. To start, the types of flour, salts, fats, and liquids must be thoughtfully and deliberately chosen.
You must think about temperatures, too. The ingredients, bowls, utensils, equipment, and even your hands must be cold. The oven should be hotter than you think and preheated for longer than might otherwise seem prudent.
Though I grew up in a food-loving family who all cooked, I certainly wasn’t making pie while tethered to my grandma’s apron strings. Absent a random fruit crostata during the summer months, I’m not sure if anyone in my family baked a homemade “pie” pie in my presence. As in many suburban homes in the ’70s and ’80s, our pies were usually frozen, and typically thanks to the industry of Mrs. Smith, Marie Callender, or Julia Waldbaum.
My pie epiphany came about 20 years ago when I stumbled across a recipe that won a hopeful young chef, Allison Heaton, the 2002 Apple Pie scholarship to the Culinary Institute of America. I thought, “That’s got to be one damned good pie!” And Heaton’s Apple Pie with Tart Cherries and an Apple Cider Crust was damned good, indeed.
Always up for cooking or baking challenges, I made two of them for my first attempt at the recipe for Thanksgiving dinner. Not too much pressure. One was for my wife’s side of the family, the other for mine. Both pies were stupendous, and I quickly became a pie enthusiast.
It was not only the adventure of trying a new recipe that I found compelling. (And yes, the correct word is “adventure.”) For me, exploring the unknown and trying different ingredients proved fun and educational. This recipe involved much more than dumping a can of Comstock in a pre-made pie crust from the supermarket’s frozen food section. Frozen apple cider in the crust? I never tried that before. I also baked with lard, pastry flour, and dried tart cherries for the first time. And it gave me the occasion to enjoy the tarty sweetness of a Braeburn apple.
I felt the usual excitement with the anticipation of trying a new recipe. But with pies, I experienced something more. A pie is a lot like a gift, wrapped in something that may or may not give insight into what is hidden inside. The crust can be part of the celebration or merely something that delays access to the mystery within.
And as with a thoughtful gift, a pie is an above-and-beyond expression of love. Even with modern time-saving tactics, making homemade pie still consumes the limited resources of time and patience—at least if you want to make a good one.
Over the years, I tried now and again to make pies. Not all attempts were as successful as the first one, and I will admit to rolling out my share of Pillsbury pie crusts when time was short, stakes were high, and my confidence was low.
This year, I resolved to try things that take me out of my comfort zone. For me, making delicious pie crusts fit the bill and for a few months, I made at least one pie a week, hoping to get the pastry of the crust just right. Thankfully, my neighbors on either side willingly sampled and happily gave me feedback as we exchanged pie-filled containers for empty ones over the fence.
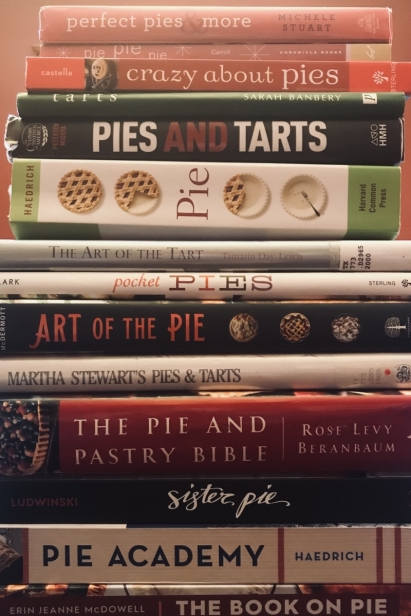
I own a plethora of cookbooks on pie baking to guide me. It also helps that I have a friendship with a pretty famous cookbook author who makes his living writing about and teaching pie baking. Ken Haedrich has five decades of baking pies under his belt, and thus acts as my pie-baking guru. I usually turn to his books and YouTube videos when I am in a quandary. He told me about 90 percent of the questions that he gets about pie baking involve crusts.
Haedrich likes the texture that shortening brings but prefers the flavor of butter, so he generally uses a ratio of 75 percent butter to 25 percent shortening, which he says acts like a “muscle relaxer for your dough.” I tried his recipe and like it, but I am still experimenting. Right now, I use Rose Levy Beranbaum’s recipe that includes cream cheese. Soon, I will try others and perhaps find a foolproof recipe to call my own.
Much of the art of making the perfect pie crust is knowing the correct feel of the dough: not too dry, not too wet, easy to roll, and at the right temperature. Some recipes might call for a wide range of liquid, say between four and eight tablespoons—a huge margin determined by how much your dry ingredients soak up. The key requires getting it to a state between a sandy, dry mess that won’t come together and a soggy ball of despair. Absent learning the tactile and sensory cues from being taught in person, the only way to know when you’ve succeeded necessitates trying and then trying again. And, for me at least, there is nothing wrong with that.
“The worst homemade pie is better than the best store-bought pie,” says Haedrich. He has counseled me to observe, enjoy the process of learning, and let my love of making the pie be the driving force. That’s sage good advice, even if it does result in the occasional “soggy bottom.”
GABE'S TIPS FOR MAKING PIE CRUST:
~ If you can, make the dough the day before and give it a night to rest in the refrigerator before rolling it out.
~ Put everything in the refrigerator or freezer including your ingredients, utensils, bowls, etc. to make them cold.
~ Opt for recipes that include weights of the ingredients. Weighing my ingredients religiously has reliably yielded more consistent results. To me, the variables that come with the “scoop and sweep” method of measuring ingredients create a recipe for disaster. If a recipe does not have ingredient weights, I do the conversions and write them on the cookbook page. I use the King Arthur Baking Company ingredient weight chart found on its website.
~ If you have your dough out for more than 15 minutes or notice that it is getting tacky, put it back in the refrigerator for 10 minutes or so.
~ I like using a food processor. After the processing is complete, dump the contents into a gallon Ziplock bag, seal it, and bring the dough together in the bag.
~ Roll out the dough between two sheets of plastic wrap dusted with flour. Instead of manipulating the dough and moving it around, roll it up and down with your rolling pin once or twice and then turn the plastic-wrapped dough 90 degrees. Keep doing that until you get to the desired diameter. When you’re ready to put the dough in the pie pan, take one sheet off and invert it into the pan. Then remove the second sheet.
~ I prefer metal pie pans to glass ones. Specifically, my work horse is a 9-inch pie pan from US Pans. For deep-dish pies, I like my Emile Henry ceramic pie dish.
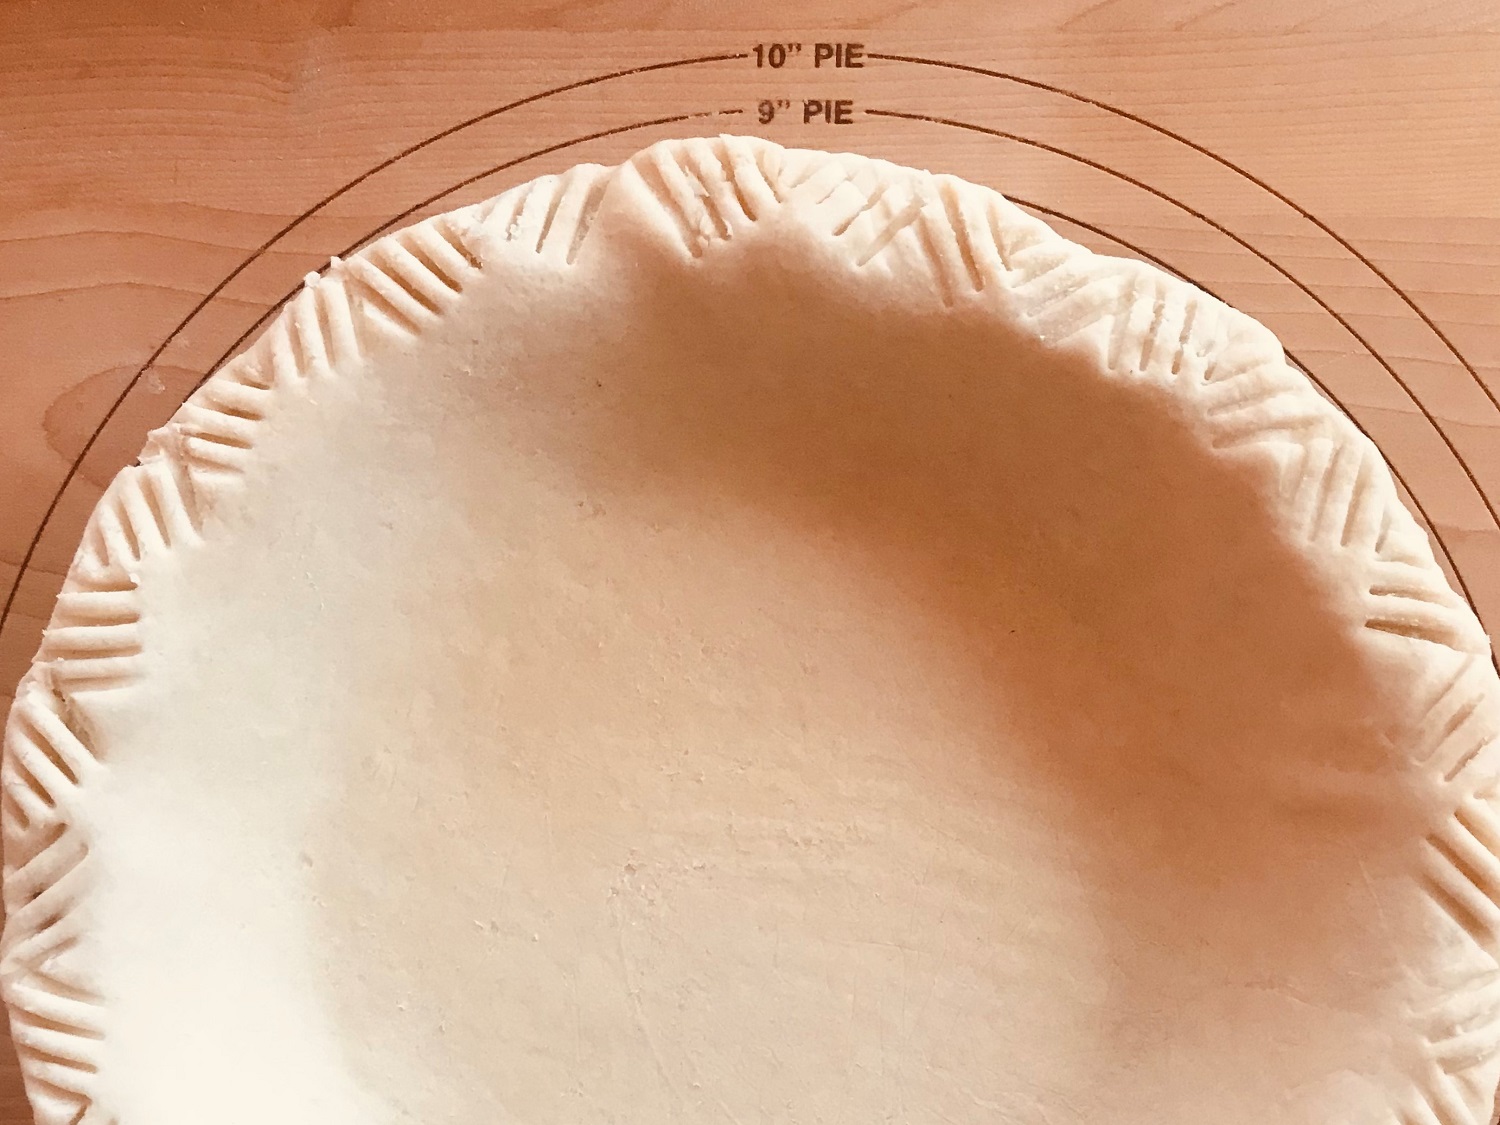
~ After you roll out the dough and nestle it in the pie pan, put it in the refrigerator for 10–15 minutes before you get to crimping. After you crimp, put it back in the refrigerator. This way, you stand a better chance that your crimps will remain after baking.
~ Preheat your oven for at least 30 minutes before putting the pie in.
~ Use a baking stone on whatever rack the recipe tells you to use. Put an aluminum foil-covered cookie sheet or sheet pan in the oven as it preheats.
~ When the pie is ready to go in the oven, use oven mitts to take the cookie sheet out of the oven. Place your pie dish on it. Using your oven mitts, put the pan with pie on the baking stone in the oven.


